Care Guide
Complete Guide to Boot Resoling — When, How, and Where
Published: 2026-04-08 · Updated: 2026-04-08
Why Resoling Matters
A quality pair of Goodyear welted boots represents a significant investment — often $300 to $700 or more. Unlike cemented (glued) footwear that becomes trash once the sole wears out, a welted boot is designed to be rebuilt. Resoling extends the life of your boots by years or even decades, making it one of the most sustainable choices in footwear.
Think of resoling as routine maintenance rather than repair. Just as you’d replace the tires on a car long before scrapping the vehicle, replacing the sole on a well-constructed boot is simply part of its lifecycle.
Understanding Boot Construction: Why Goodyear Welt Is King of Resolability
Before diving into the resoling process, it helps to understand why certain construction methods lend themselves to resoling and others don’t.
Goodyear Welt
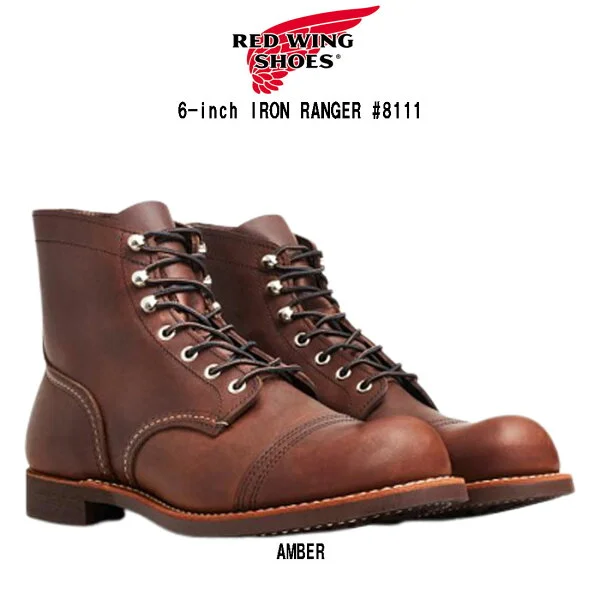
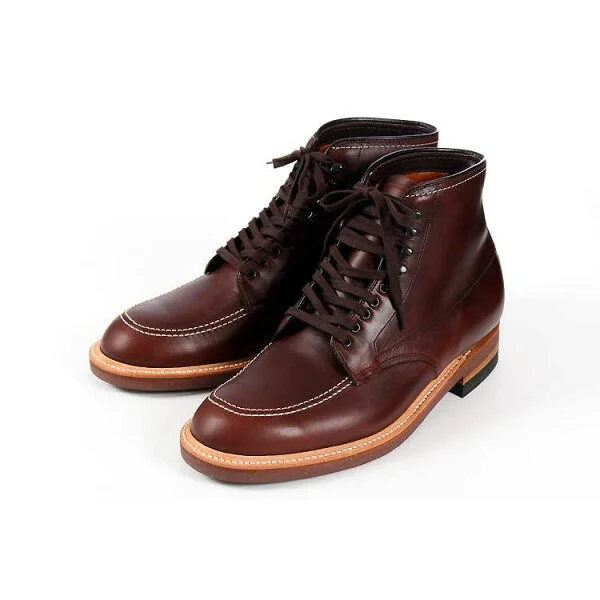
The Goodyear welt is the gold standard for resolable footwear. In this construction, a strip of leather (the welt) is stitched to both the upper and a rib attached to the insole. The outsole is then stitched to the welt with a separate row of stitching. This means the outsole can be removed and replaced without disturbing the upper or insole.
Boots built this way — like the Red Wing Iron Ranger 8111 or the Alden Indy Boot 403 — can typically be resoled 3 to 5 times over their lifetime.
Blake Stitch
Blake stitched shoes have the outsole stitched directly through the insole and upper. While they can be resoled, the process is more delicate because the stitching passes through the insole. Repeated resoling can weaken the insole over time, generally limiting Blake stitched footwear to 2–3 resoles.
Blake Rapid
A hybrid construction that adds a midsole between the Blake-stitched upper and the outsole, with a separate stitch connecting the midsole to the outsole. This makes resoling easier than pure Blake stitch while maintaining a slimmer profile than Goodyear welt.
Stitchdown
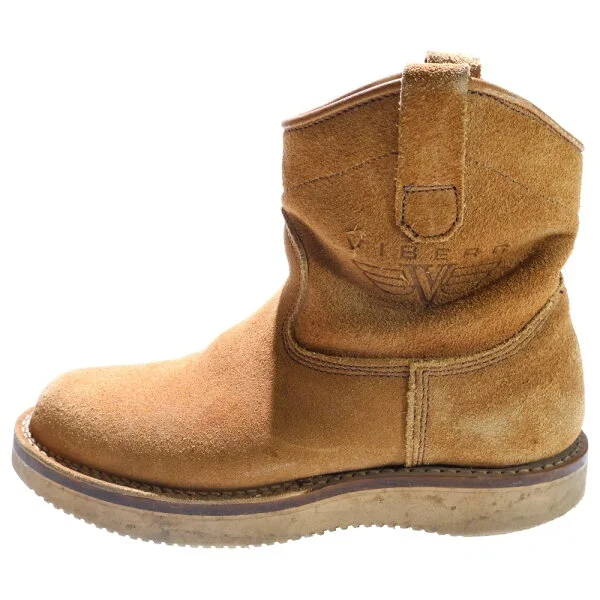
Used by makers like Viberg, stitchdown construction flanges the upper outward and stitches it directly to the midsole. The outsole is then attached below. Resoling is possible but requires a skilled cobbler familiar with this specific method.
Cemented (Glued)
Cemented construction bonds the outsole to the upper with adhesive. These shoes generally cannot be resoled — or if attempted, the results are unreliable. This is why inexpensive fashion boots rarely survive beyond their first sole.
When to Resole: Reading the Signs
Knowing when to resole is just as important as knowing how. Resole too early and you waste money; wait too long and you risk damage to the welt or upper.
Definite Signs It’s Time
Worn-through outsole: If you can see the midsole or welt stitching through the outsole, you’ve waited a bit too long — but it’s still salvageable in most cases. The outsole should be replaced before it wears into the midsole.
Holes in the sole: Any breach in the outsole that lets water in means it’s time. Moisture reaching the midsole and insole accelerates deterioration of the entire boot.
Loose or separated sole: If the outsole is peeling away from the welt at the toe or heel, the stitching or adhesive (in the case of a combination-attached sole) has failed.
Uneven wear patterns: Severely uneven wear — where one side of the heel is dramatically lower than the other — affects your gait and can cause knee or back problems. Resoling (and possibly adding a heel wedge correction) is warranted.
Still Got Life Left
Even wear across the sole with no bald spots: If the tread pattern is still visible and reasonably uniform, keep wearing them.
Minor heel wear: A slightly worn heel corner is normal and can often be addressed with a simple heel replacement (called a “top lift” replacement) rather than a full resole.
Cosmetic scratches on the sole: Surface scuffs on leather soles are purely aesthetic and don’t warrant resoling.
The Midsole Factor
During a resole, a good cobbler will inspect the midsole. If it’s still firm and intact, it can be reused. If it’s soft, crumbly, or water-damaged, it should be replaced — this adds to the cost but is essential for structural integrity. A compromised midsole means the new outsole won’t be properly supported.
The Resoling Process: Step by Step
Here’s what happens when your boots go in for a Goodyear welt resole at a reputable cobbler.
Step 1: Inspection and Assessment
The cobbler examines the boots to assess:
- Overall condition of the uppers (stitching, leather integrity)
- Welt condition (cracked, dry, or still supple)
- Midsole condition
- Insole condition
- Any structural issues
Based on this assessment, they’ll recommend the scope of work — from a simple outsole swap to a full rebuild with new welt, midsole, and outsole.
Step 2: Sole Removal
The old outsole is carefully separated from the welt. For stitched soles, the cobbler cuts the lockstitch and peels the sole away. For combination-attached soles (stitched at the forepart, nailed at the waist and heel), nails are also removed.
This step requires care to avoid damaging the welt. A skilled cobbler uses specialized tools — sole-removal pliers, a welt knife, and channel openers — to cleanly separate the layers.
Step 3: Midsole Assessment and Replacement
With the outsole removed, the midsole is exposed and inspected. If it’s in good condition, the cobbler sands it smooth and prepares it for the new outsole. If replacement is needed, the old midsole is removed and a new one is cut to shape and cemented in place.
Step 4: Welt Inspection and Possible Replacement
The welt is inspected for cracks, dryness, or excessive wear. A healthy welt can be reused for multiple resolings. If it needs replacement, the cobbler removes the old welt, prepares the holdfast or rib, and sews a new welt in place using a welt stitcher.
Welt replacement (called “re-welting”) is a more extensive and expensive procedure, but it’s sometimes necessary — especially on boots that have been resoled several times already.
Step 5: New Outsole Attachment
The cobbler selects the new outsole material (more on options below) and cuts it to match the boot’s profile. The sole is cemented to the midsole and welt, then stitched through the welt using a lockstitch. The stitching channel on the outsole is then closed and sealed.
For boots with a storm welt or a heavy work-boot welt, the cobbler may use a heavier thread gauge to match the original construction.
Step 6: Heel Building
The heel is built up from stacked leather or rubber layers (called “lifts”). The top lift — the layer that contacts the ground — is attached last and can be replaced independently in the future for minimal cost.
Step 7: Finishing
The edges of the sole and heel are trimmed, sanded, and finished. Leather soles may receive edge dressing and burnishing. The cobbler checks that both boots match in profile and that the sole is seated correctly.
Step 8: Conditioning and Final Inspection
Many quality cobblers will condition the uppers as a courtesy, clean up the welt edge, and give the boots a final once-over before returning them.
Outsole Options: Choosing the Right Sole
One of the advantages of resoling is the opportunity to change your sole type. Here are the most common options.
Leather Soles
Best for: Dress boots, office wear, dry climates
Traditional leather outsoles offer a sleek profile and excellent breathability. They develop a beautiful patina on the edges and feel elegant underfoot. However, they offer minimal traction on wet surfaces and wear faster than rubber.
Popular choices include single oak-bark tanned leather soles and JR (J. Rendenbach) leather from Germany, widely considered the finest sole leather in the world.
Vibram Soles
Vibram is the industry standard for rubber outsoles. Several models are popular for resoling:
- Vibram 430 Mini Lug: The default sole on modern Red Wing Iron Rangers. Excellent traction with a relatively low profile.
- Vibram 700: A flat, full-rubber sole popular for work boots. Extremely durable but heavy.
- Vibram 2060: A chunky commando/lug sole for maximum grip. Popular on hiking-style boots.
- Vibram 2021: A hybrid half-sole with a smooth forepart and lugged heel. Versatile for boots that see both office and outdoor use.
Dainite Soles
Made in England by Harboro Rubber Company, Dainite studded rubber soles are a favorite for dress boots and refined casual boots. The small raised studs provide decent traction while maintaining a clean profile. They’re harder than Vibram compounds, which means they last longer but offer slightly less cushioning.
Ridgeway Soles
Also from Harboro, the Ridgeway features a distinctive directional tread pattern that offers noticeably better wet-weather grip than Dainite while still looking relatively refined.
Christy Soles
The wedge-shaped, crepe-like sole found on moc-toe boots like the Red Wing 875. Light, comfortable, and offers decent traction on flat surfaces but wears down relatively quickly.
Combination Soles
Some cobblers offer combination soles — for example, a leather forepart with a rubber heel, or a leather sole with a rubber half-sole (called a “topy”) cemented on for added durability. This gives you the breathability and elegance of leather with the practicality of rubber where you need it most.
Choosing a Cobbler: What to Look For
Not all cobblers are created equal. While your local shoe repair shop can handle heel replacements and stretching, a Goodyear welt resole demands specialized skills and equipment.
Key Qualifications
Welt stitching capability: The cobbler must have a Goodyear welt stitcher (such as a Landis, Puritan, or equivalent) or be able to hand-welt. Many modern shoe repair shops only have a Blake stitcher, which won’t work for a proper welt resole.
Experience with quality footwear: Ask to see examples of previous resole work, particularly on brands similar to yours. A cobbler who regularly works on Alden, Red Wing, Viberg, and similar brands will understand the nuances of different constructions.
Quality materials: They should stock reputable outsole materials (Vibram, Dainite, JR leather) rather than generic substitutes.
Highly Regarded Cobblers (North America)
- B. Nelson Shoes (New York City): One of the most respected in the country for high-end resoling. Alden’s recommended repair facility for the East Coast.
- Bedo’s Leatherworks (California): Specializes in heritage boots — Red Wing, Viberg, White’s, Wesco. Known for meticulous craftsmanship.
- Potter & Sons (Tennessee): Offers a wide range of resole options with excellent communication and turnaround.
- Role Club by Brian the Bootmaker (California): Custom bootmaker who also does exceptional resole work, particularly on Japanese and American heritage boots.
- Cobbler Union (Georgia): Both a shoemaker and repair facility, offering high-end resoling services.
Highly Regarded Cobblers (International)
- The Shoe Snob (London/Austin): Founded by Justin FitzPatrick, offering bespoke-level resoling.
- A. McDonald Shoemaker (Australia): Excellent reputation for work on both dress and heritage footwear.
- Brass Boot Repair (Japan): Japanese precision applied to boot restoration and resoling.
Red Flags to Watch For
- Can’t identify the construction method of your boots
- Only offers glued-on soles for welted footwear
- Won’t show examples of previous work
- Quotes a price that seems too cheap (quality resoling involves significant labor)
- Rushes the assessment without inspecting the midsole and welt
Cost Expectations
Resoling costs vary significantly based on location, cobbler reputation, and the scope of work required.
Typical Price Ranges (USD)
| Service | Price Range |
|---|---|
| Heel top lift replacement only | $25–$45 |
| Full outsole replacement (rubber) | $100–$175 |
| Full outsole replacement (leather) | $125–$200 |
| Full resole with midsole replacement | $175–$250 |
| Full rebuild (new welt, midsole, outsole) | $250–$400+ |
| Cork bed replacement (add-on) | $25–$50 |
| Edge refinishing (add-on) | $15–$30 |
Manufacturer Resoling Programs
Some manufacturers offer their own resoling services:
- Red Wing: Offers factory resoling through their retail stores. Cost is typically $100–$150 with a 6–8 week turnaround. They use original factory specifications and materials.
- Alden: Works with authorized repair facilities (like B. Nelson). Full resole typically runs $175–$250.
- White’s / Nick’s: Both offer factory rebuilds that essentially make the boot new again. Costs range from $150–$300 depending on the scope.
Factory resoling ensures original specifications are maintained, but independent cobblers often offer more outsole options and faster turnaround.
Turnaround Time
Expect 2 to 8 weeks for a quality resole, depending on the cobbler’s backlog. High-demand cobblers like B. Nelson or Bedo’s may have longer wait times. Factory resoling programs (Red Wing, White’s) typically quote 6–8 weeks.
Many cobblers offer rush service for an additional fee, but be wary — rushing a resole can compromise quality. Good craftsmanship takes time.
Shipping Your Boots to a Cobbler
If your preferred cobbler isn’t local, shipping is standard practice. Here’s how to do it right:
- Contact the cobbler first: Discuss the work needed and get a quote. Many cobblers have online intake forms.
- Remove laces and insoles: Take out any removable insoles and laces before shipping.
- Pack securely: Wrap each boot individually in paper or bubble wrap. Use a sturdy box — the original boot box inside a shipping box is ideal.
- Insure the package: Your boots may be worth $300–$700+. Insure accordingly.
- Include a note: Write down your name, contact information, the work requested, and any specific outsole preferences.
How Many Times Can You Resole?
A well-made Goodyear welted boot can typically be resoled 3 to 5 times before the welt or upper begins to show structural fatigue. Factors that affect this number include:
- Welt condition: Each resoling puts some stress on the welt. Leather welts are more durable than synthetic ones.
- Upper quality: Full-grain leather uppers from reputable tanneries (Horween, CF Stead, Annonay) hold up to repeated resoling far better than corrected-grain leather.
- Care between resolings: Regular conditioning, proper storage with shoe trees, and rotation between pairs all extend the number of possible resolings.
- Construction quality: Boots from makers like Viberg, Alden, and White’s are built with tighter tolerances and better materials, allowing for more resole cycles.
Timing Your Resole: A Seasonal Strategy
Many boot enthusiasts follow a seasonal resoling strategy:
- Send boots in during spring/summer: Most people wear their heavy boots less during warmer months, making it the perfect time for resoling.
- Get them back for fall: A fresh resole right before boot season means you’re ready when the temperatures drop.
- Cobbler backlogs are typically shorter: Late spring through mid-summer tends to be the quieter season for boot cobblers, potentially meaning faster turnaround.
Before and After: What to Expect
A quality resole can make your boots feel almost new. Here’s what changes and what doesn’t:
What Changes
- Fresh, unworn outsole with full tread depth
- Clean, refinished sole edges
- New heel with full height restored
- Potentially different sole type if you chose to switch
What Stays the Same
- The molded-to-your-foot insole and cork bed (unless replaced)
- The broken-in upper leather
- The fit and comfort you’ve developed over time
- The patina and character of the leather
This is actually the best of both worlds — you get the traction and weather protection of a new sole while keeping the personalized fit of a well-worn boot.
Conclusion
Resoling is what separates disposable footwear from lasting investment pieces. A $400 pair of Goodyear welted boots resoled three times over 15 years costs roughly $27 per year — far less than buying a new pair of $100 boots every two years.
Beyond the economics, there’s something deeply satisfying about maintaining and renewing a pair of boots that have been with you through years of wear. The upper develops a patina that tells your story, while a fresh sole underneath keeps you moving forward.
Take care of your boots, find a cobbler you trust, and your welted footwear will reward you with years — possibly decades — of faithful service.
🥾 Featured Boots in This Article